

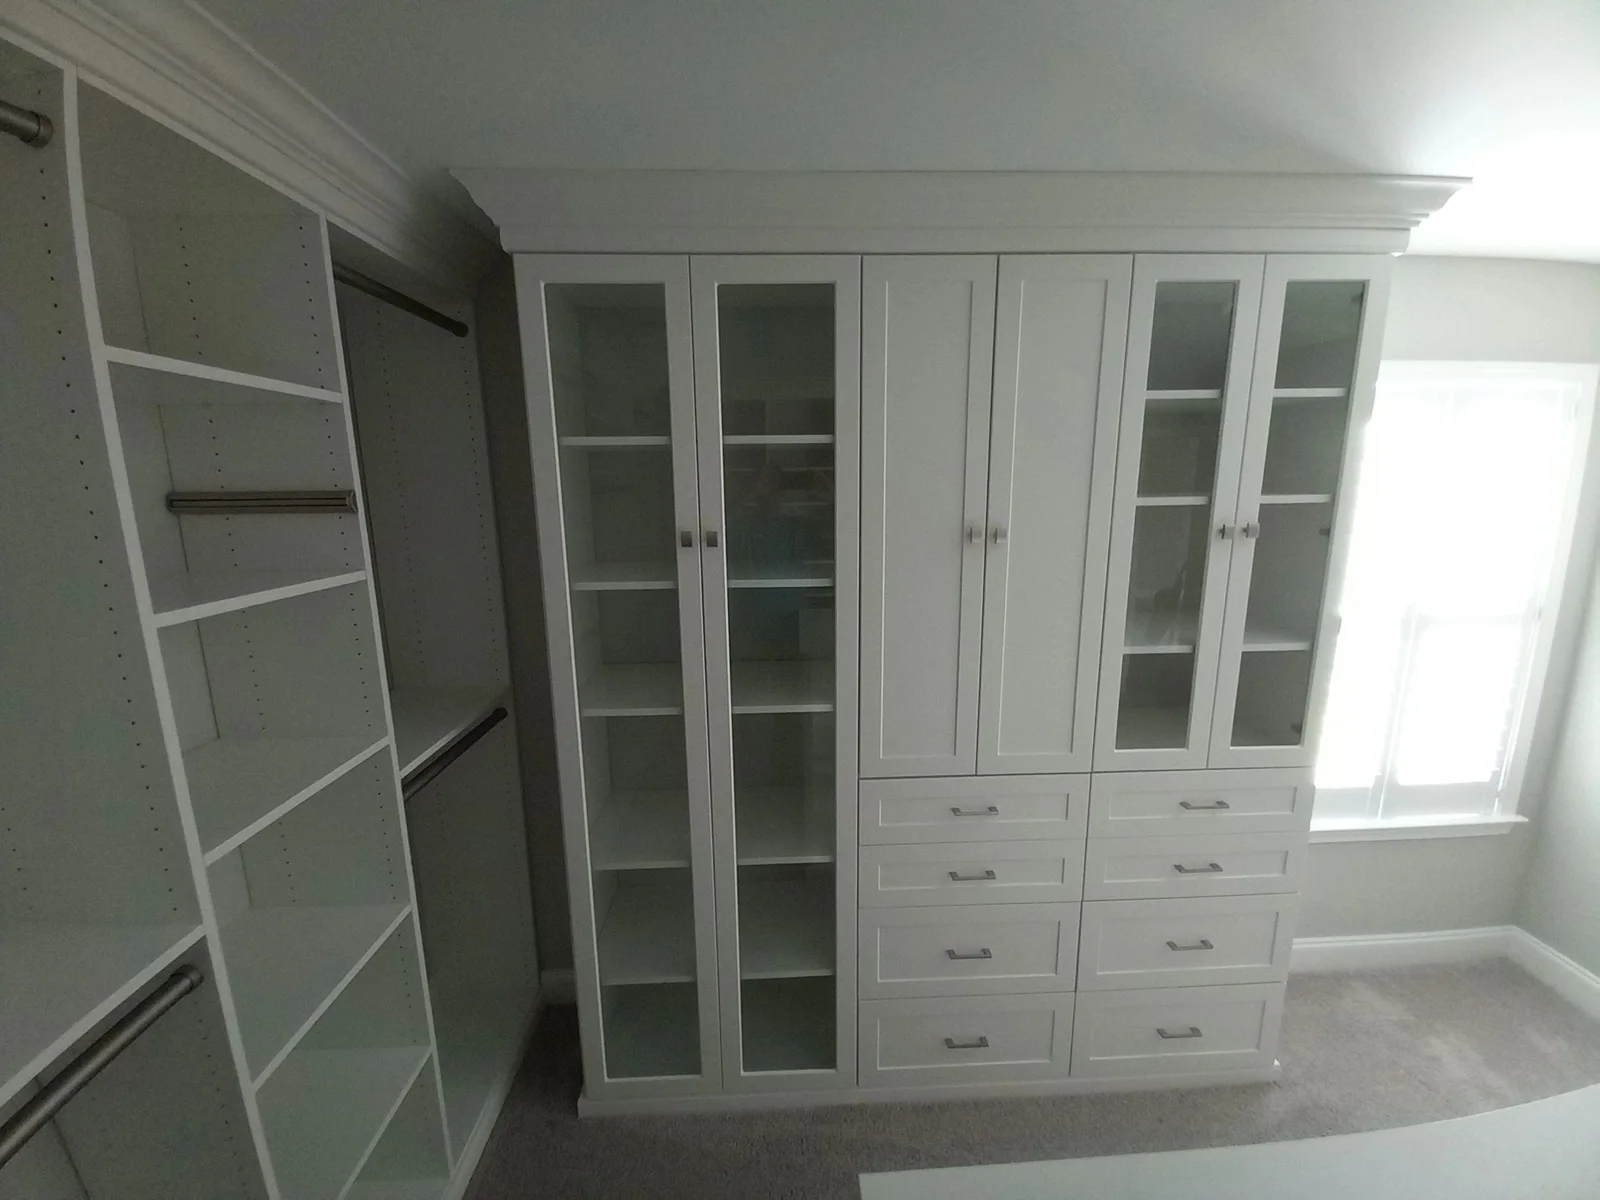
Decide how the cabinetry should belong in the space.
Some cabinetry is intended to read as part of the architecture. Other pieces have a more furniture-like presence. Molding and surrounding gaps contribute to that impression, along with the overall height and proportions.
Start with the desired relationship to the room. A detail that suits a formal cabinet wall may be unnecessary in a quiet contemporary space.
Look closely at the ceiling and nearby trim.
Ceilings and walls are not always perfectly level or square. Existing door casings, baseboards and other architectural features also affect where a new profile can fit. Those conditions need to be understood before approving a final detail.
Photographs can reveal the visual context, but accurate site information is needed for fabrication and installation. Do not assume a sample profile solves every transition shown in an inspiration image.
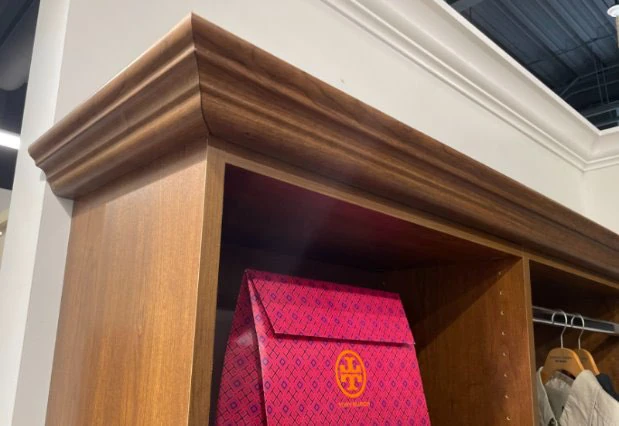
Judge the proportion from a normal viewpoint.
A molding sample is often viewed close up. In the room, it may sit well above eye level and repeat across a long run. Consider its apparent weight, projection and the shadow it creates in that position.
A detail that looks modest in the hand can become prominent when repeated, while a subtle profile may nearly disappear. Review it in relation to the cabinet elevation rather than treating the sample as the entire design.
Coordinate the color and the joins.
Decide whether the molding should visually continue the cabinetry or relate to the room’s trim. Discuss the selected material and how the parts meet. The exact system and installation determine what details are possible.
A consistent finish does not eliminate the need to plan the join. The point where a cabinet run ends or meets another surface deserves as much attention as the uninterrupted middle.
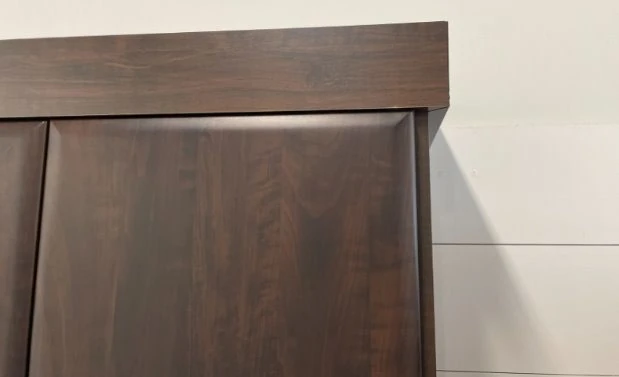
Keep the specification tied to the cabinet system.
The supplied molding images are selection references. They do not establish compatibility with every cabinet construction or manufacturer. Confirm the profile, dimensions, material and intended location together.
Bring a photograph of the existing room trim and explain whether it will remain. That simple information can prevent a finishing detail from feeling disconnected from the architecture around it.
Draw the Top and End of the Cabinet Run
The middle of a cabinet wall is usually easy to picture. The difficult decisions occur where it meets the ceiling, stops beside a doorway or turns a corner. Ask to see those transitions in the proposed detail.
A molding that looks right along the front may project into an adjacent casing at the end. A ceiling that varies in height can also change the appearance of a narrow gap. Discuss whether the design uses a deliberate reveal, a filler or a molding treatment, and how that detail will be fitted. The choice should follow the site conditions and the cabinet system.
Compare the Choices
| Choice or situation | What to consider | What to check |
|---|---|---|
| Deliberate upper gap | Can create a furniture-like separation. | The gap must look intentional across the run. |
| Molding transition | Adds a finished profile at the top. | Check projection, corners and adjoining trim. |
| Fitted infill detail | Can resolve a meeting with the room. | Requires accurate dimensions and a planned finish. |
Put This into Practice
- Photograph both ends of the proposed run.
- Identify existing trim that will stay.
- Review the detail from a normal standing viewpoint.